|
    
Interiors:
The Orphanage
|
|
|
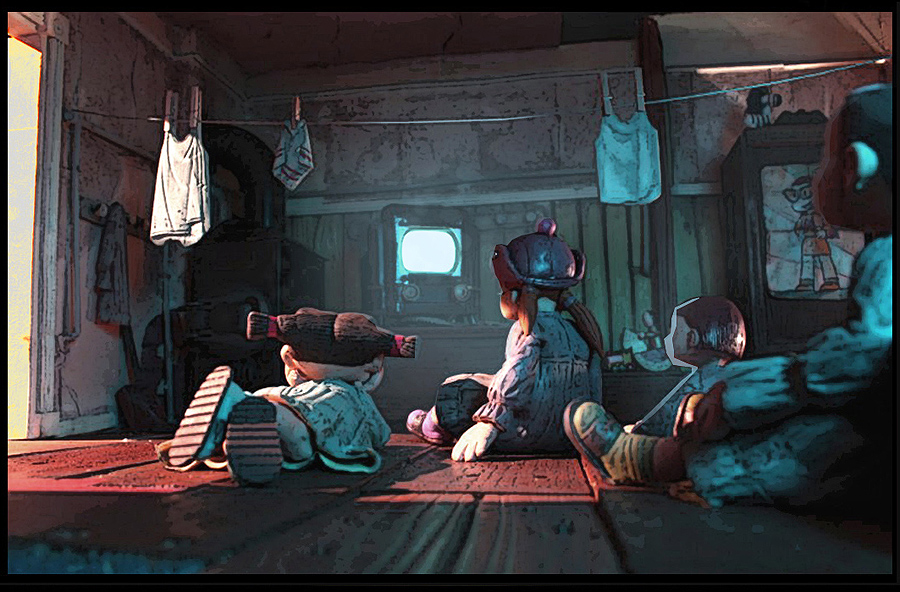
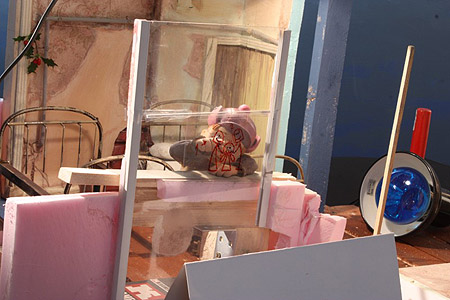
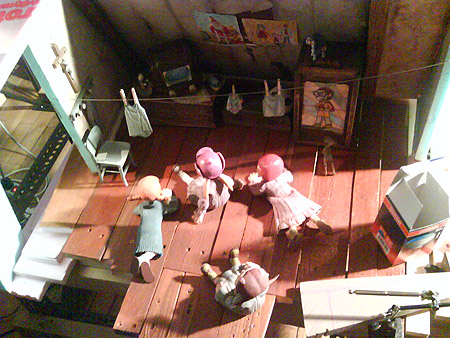
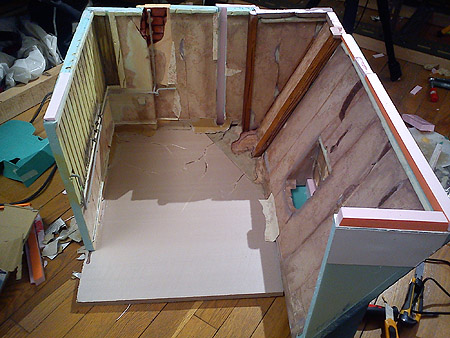
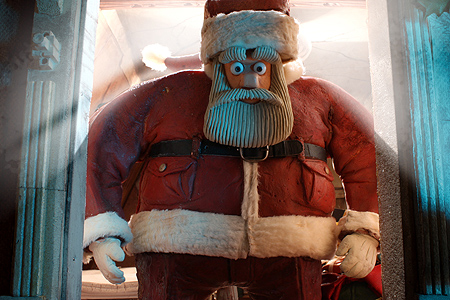
Allthough
it's full of broken surfaces, the
Orphanage interior, supposedly situated
in the attic, can maybe provide the
feel of weariness, but some distinct
crookedness would be hardly noticeable.
And no matter how simple it looked,
I've been continuously forced to do
adaptations and expansions to the
basic set. The fact that I didn't
predict all that trouble with later
alterations turned out to be a huge
omission that caused big delays. In
effect, it was almost as if I had
to produce and decorate a new set
for every change of camera angle,
for almost every shot.
|
|
|
|
|
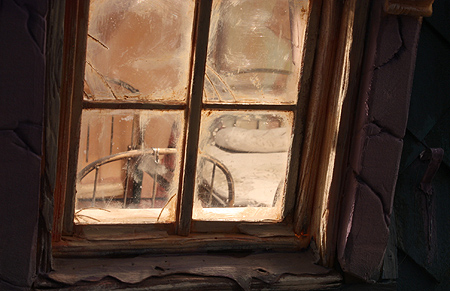
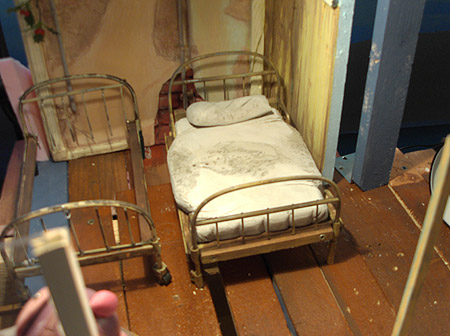
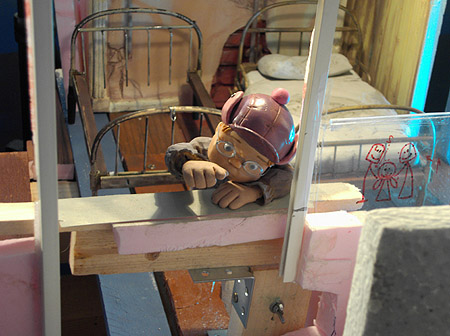
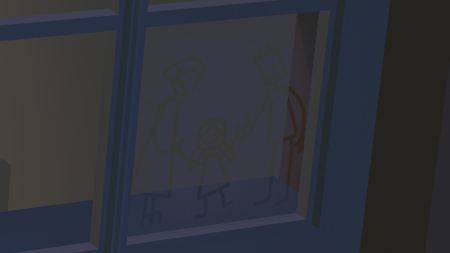
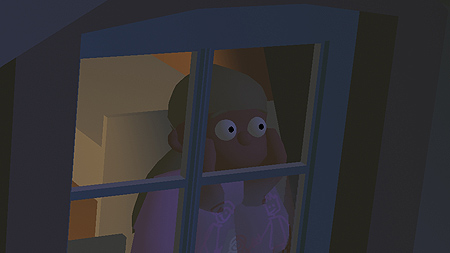
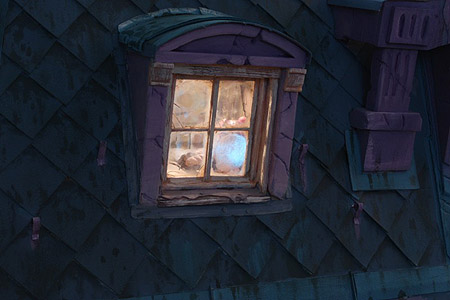
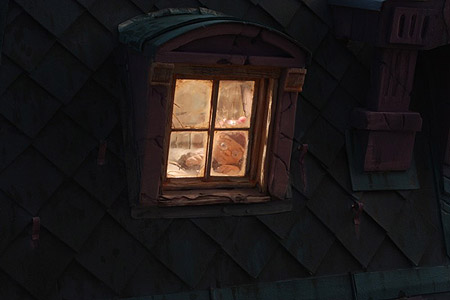
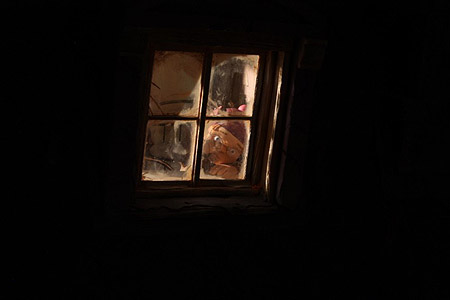
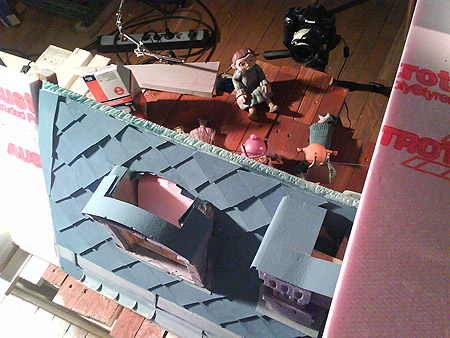
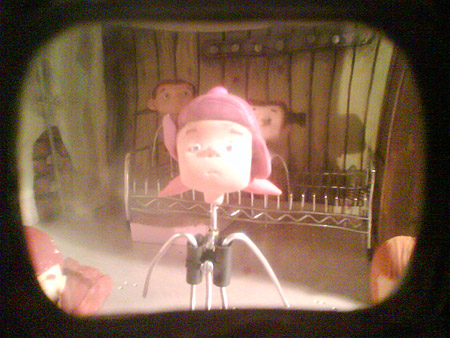
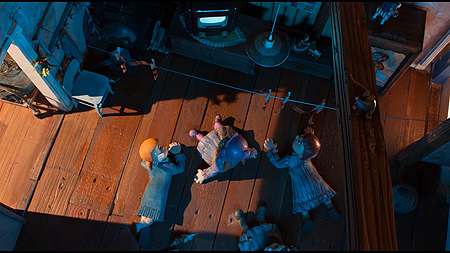
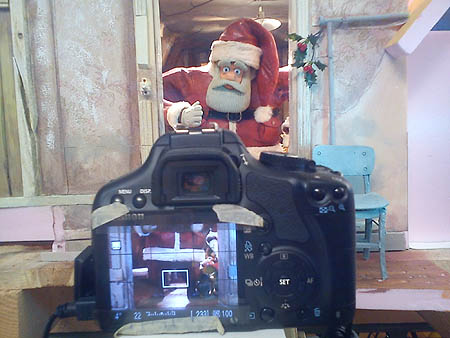
Sctrictly
speaking, this is an exterior, but
we do get to catch the inside of the
sleeping quarters crammed with weary
beds, behind the little girl - and
she supposed to be standing on her
bed, to be able to reach the window
at all.
|
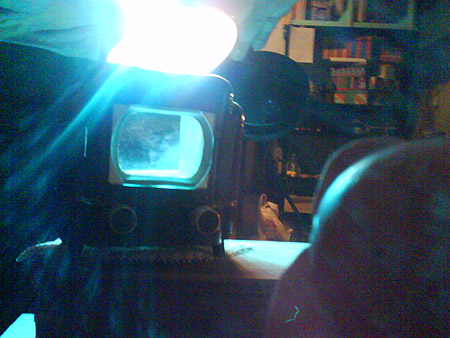
The
background above connects (separated
by a wall, though) to a "TV-saloon"
(top), partly visible on the image
above. That piece of background
is covered on the picture by most
part with the roof section, here
on it's side. That roof / window
element was placed on paper hinghes,
in oder for me to be able to access
the interior. I had to open the
roof section for every frame, and
that was in 25 fps, and to set it
back again, precisely. The shot
totalled over 500 frames.
|
|
|
|
|
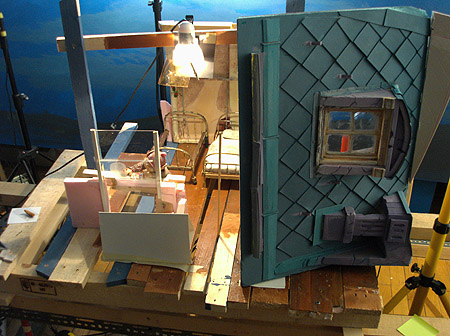
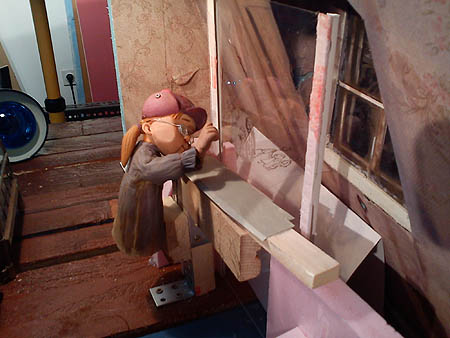
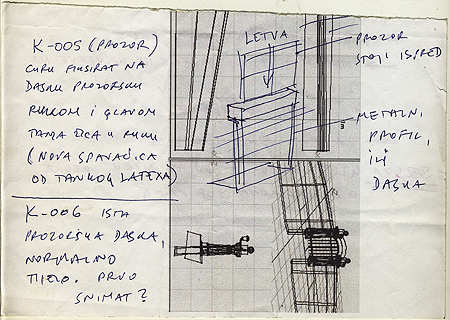
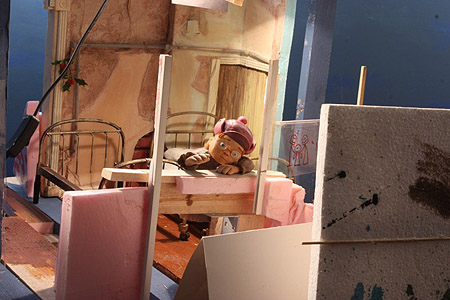
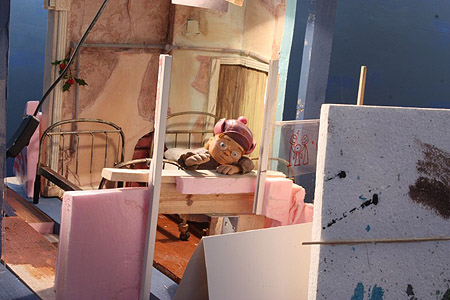
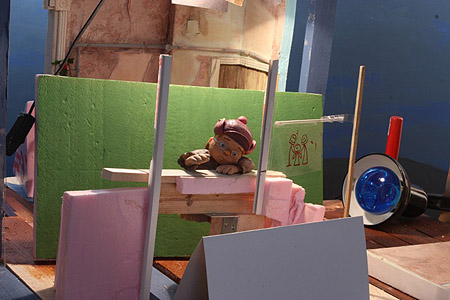
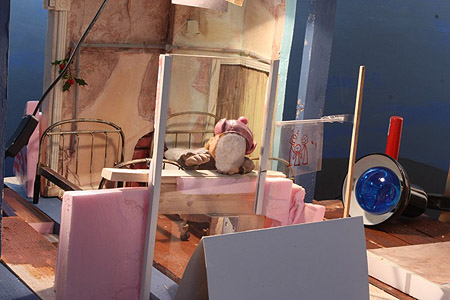
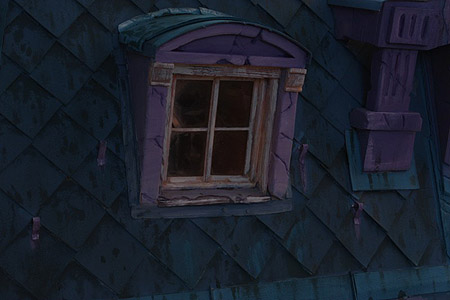
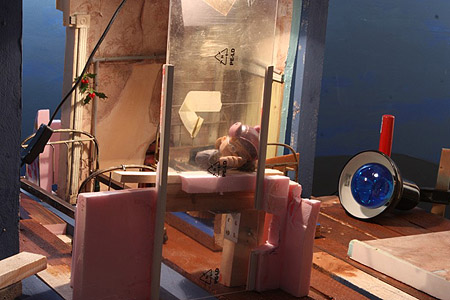
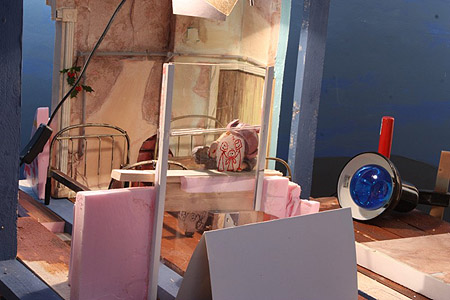
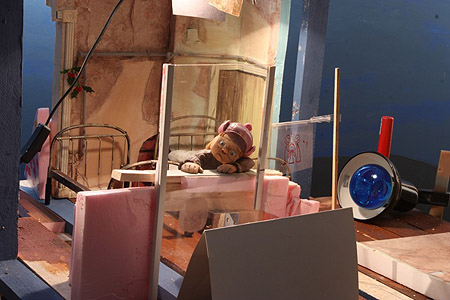
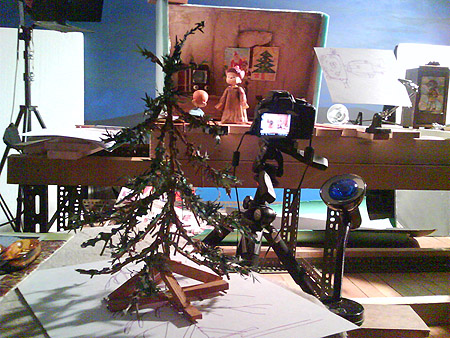
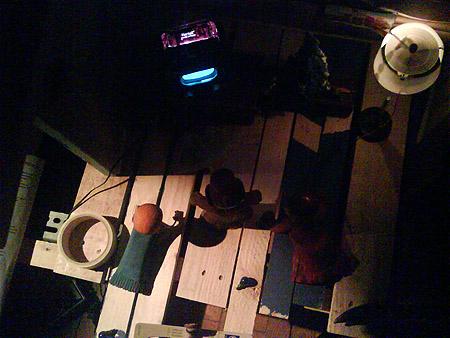
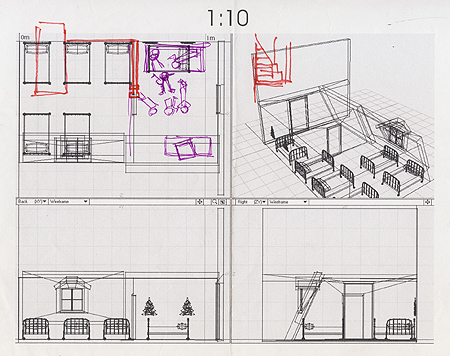
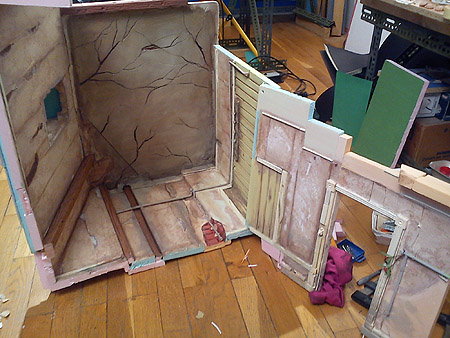
Preparations
for the shot(s): there were two similar
shots through the window - in the
first one, the camera is moving forward,
closing on the window detail, and
it was almost fully prepared on the
image above right. The image above
it shows the next, action - paced
shot, it's static camera in position
and finished, weather - weary appearance
of the roofing panels.
|
|
|
|
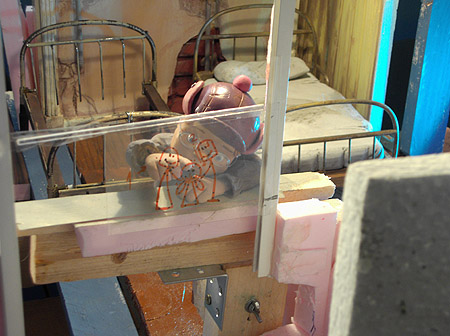
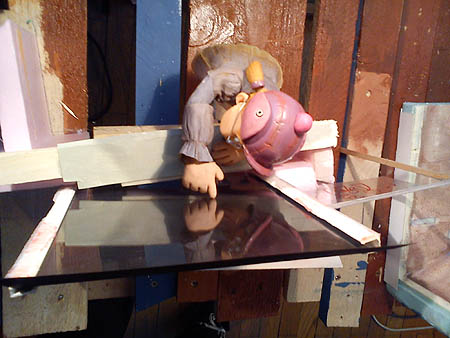
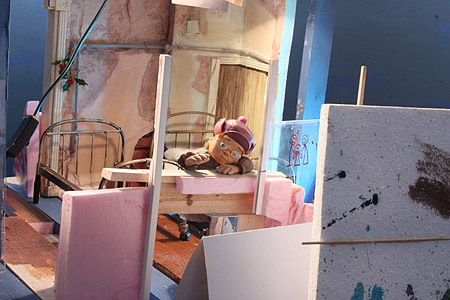
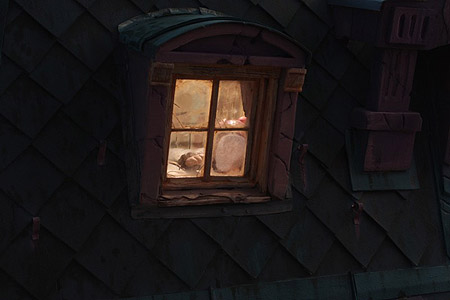
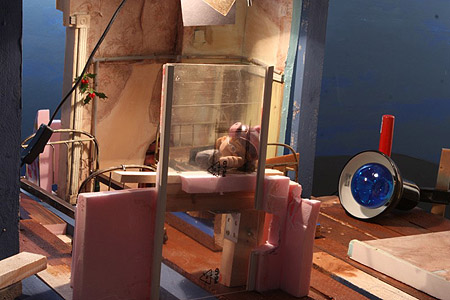
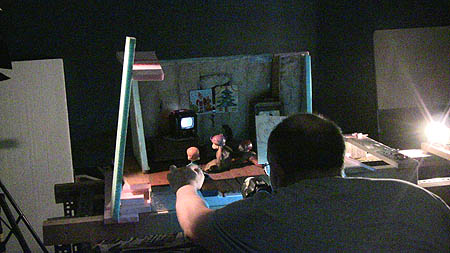
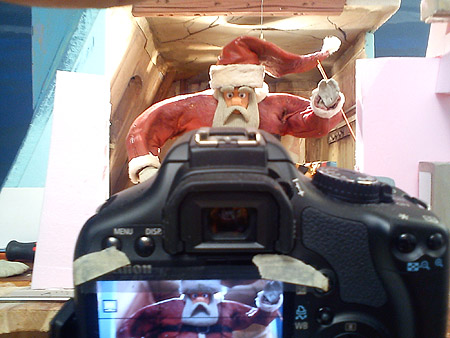
And
while I've covered the outer appearance
of this shot in the exterior
section, here is what happened inside.
It's hard to detect from the pictures,
but I had to fake the girl's position
in relation to the window - a false
window and the little girl puppet
leaned on window's (also false) inner
ledge were placed some ten centimetres
(4 inches) behind the actual window.
That setting is better visible on
pictures below.
|
|
|
|
|
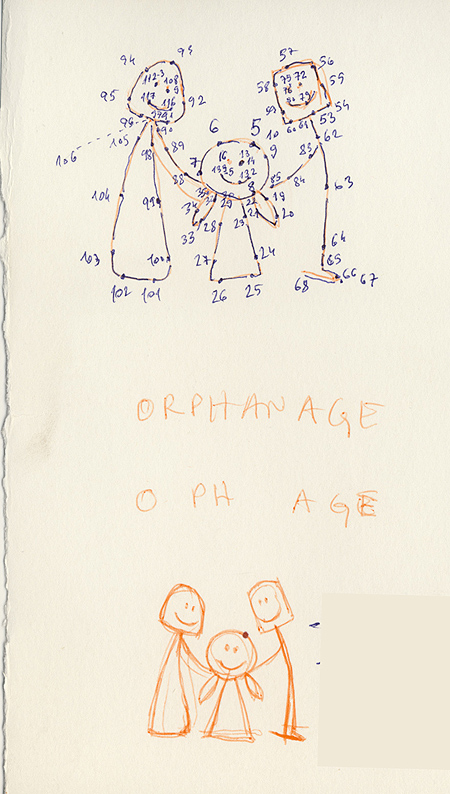
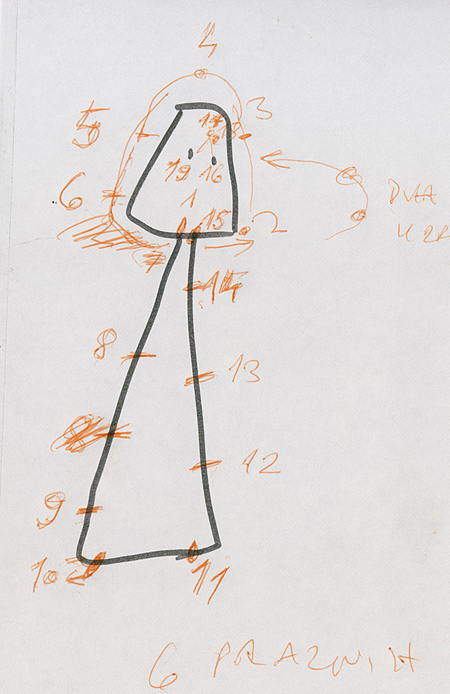
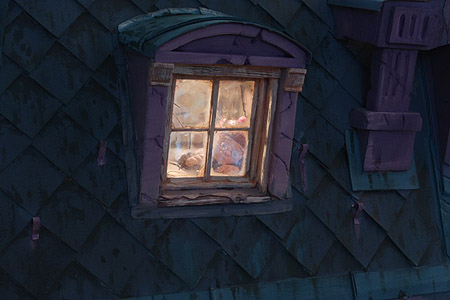
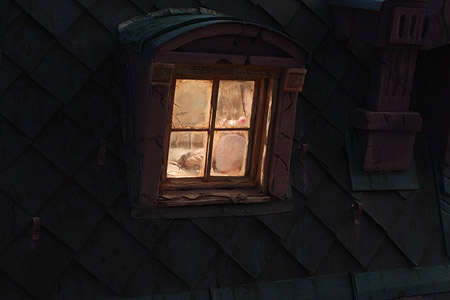
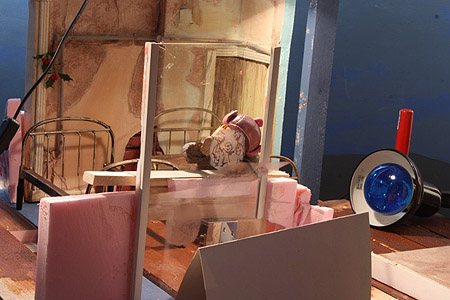
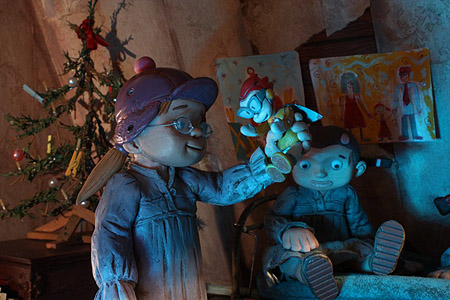
The
purpose of this shot was to introduce
the little girl as quick as possible.
The shot was planned in the animatic,
and one addition comared to the storyboard,
was "windowglass-finger"
drawing of a family, something that
little girl in the orphanage wishes
the most (before we introduce her
other, comforting interest). I had
the drawing planned in advance, and
matched it as close as I could to
the rest of the action and pace that
were determined in the animatic. It
should be a slow shot from the beginning,
but I needed it to feel melancholic
and as fast as possible in the same
time. So I've experimented with different
drawings, simplyfing them as I progressed.
The resulting one was simplified to
the bone, yet I think it manages to
show the emotion. Here are some examples
on drawings below - the concept sketch
of the "rig" for the false
window and it's ledge, also some studies
for the "glass-finger" drawing,
with the early version from the animatic.
|
|
|
|
|
|
|
|
|
Below:
I used "family" drawing
first time in early animatic (Better
visible in rollover image on the left)
|
|
|
|
|
Having
said that, it might look simple (at
least I though so at the time) to
check the drawing and where to place
the girl's finger. But the empirical
truth was quite different: as camera
progressed forward, small diggressions
in trajectory proved huge in blow-up
(and I needed it digitally zoomed
to the maximum at the end), so her
finer and the drawing itself (together
with the false window, but it remained
unnoticeable) appeared as floating,
threatening the matching of her finger
and the drawing in the post-production.
It requested constant adjusting and
attention, sometimes discarding a
whole day's work. Also, on such huge
blow-up, moving the window front up
and down in every frame became visible,
shaky, so when stabilised digitally,
the background started shaking. It's
not that bad though, otherwise we
could produce digital compositing
of smooth forplanes and background
that I also shot separately at the
same time. It was to be a backup sollution,
so I intentionally shot every of more
than 600 frames in 10 or 11 different
versions.
|
|
|
|
|
1-
basic lighting, only background (for
backup composite)
|
2-
more light on the face
|
|
|
|
|
3-
TV light, supposedly from the "TV
room"
|
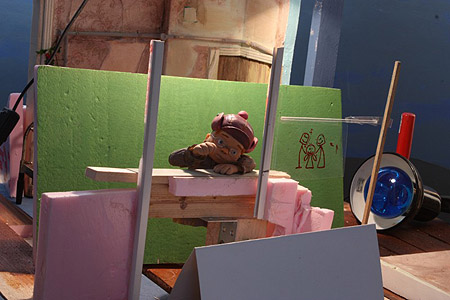
4-
separating the little girl with greenscreen
|
|
|
|
|
5-
"foggy glass" on
|
6-
"foggy glass" and TV light
on; foreground in the shot, lights
|
|
|
|
|
7-
"foggy glass" replaced with
empty "glass" panel
|
8-
masked window for separating composite
backup
|
|
|
|
|
9-
reddish hue on ideal shot w. "foggy
glass"
|
10-
no red hue
|
|
|
|
|
11-
shadow on the window bars
|
12-
no "foggy glass"
|
|
Above:
this group of 12 images are all taken
for just one frame of film. Some were
used just as they are here, but most
of others were backup variants for
composite shots, some for inside lighting
changes (on the face, TV flickering,
shadows etc.). For some frames I didn't
need all of those variations, but
for some I needed even more. I'd be
terribly confusing to change rules
for every shot, so that examplary
group above was the guideline for
majority of frames. The shot took,
without preparations, two full months
of everydays work to shoot, instead
of predicted one or two days. This
was also early in the production,
so my hopes for speeding up the pace
and meet the deadlines decreased every
day. I was trapped, and there was
no one to blame, but me.
|
|
|
|
|
|
|
|
|
|
|
|
|
|
This
group of images above is evidence
of development - development of many
things: different lighting, positioning,
"glass" tests, drawing template
swing rig, etc. On the rollover image
at bottom right can be visible how
much thin sheet of plexiglass shifts
visually everything behind it. That
hardly visible on this size, but when
zoomed in and in HD, it makes a noteable
difference.
|
|
|
|
|
|
|
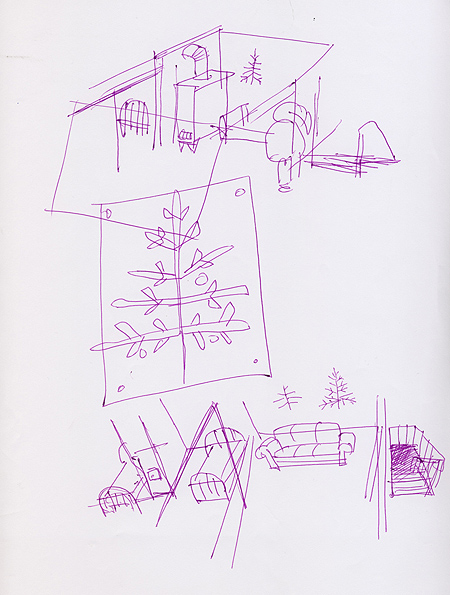
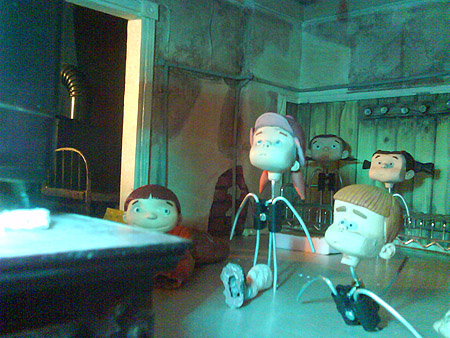
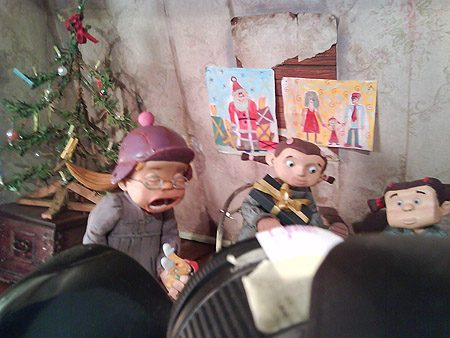
Early
animatics had different order of shots,
so in some cuts it'd be more logical
to face the kids and their TV in the
opposite direction. Also, I made them
one weary sofa, which didn't appear
weary enough, moreover the whole setting
looked too cosy. I even planned to
place one self-standing lamp beside
the sofa, the one that I've later
used in Santa's office, but that one
especially gave the room too warm
and pleasent appearance. I have rather
opted for "cold", bluish
in tone, also flickering, TV light.
|
|
|
|
|
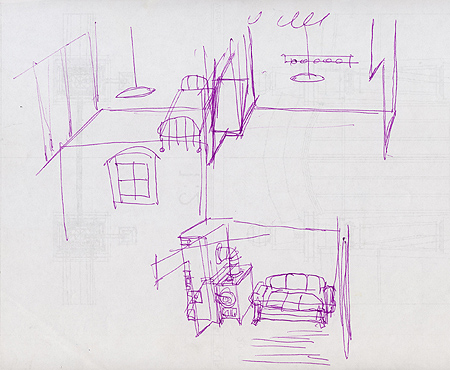
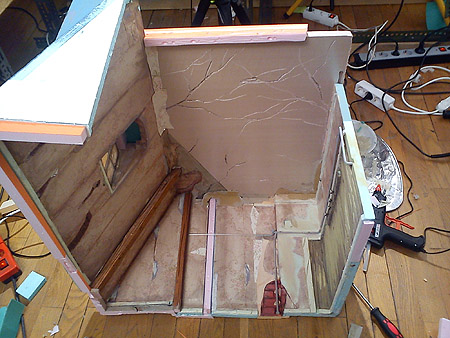
Surrounding
images are record of tests with that
abandoned attic orientation. This
is how I initially planned the set,
but rotating everything for 180 degrees
was harder to imagine than to execute.
|
|
|
|
|
|
|
|
|
|
|
U
turn
|
 |
|
|
|
|
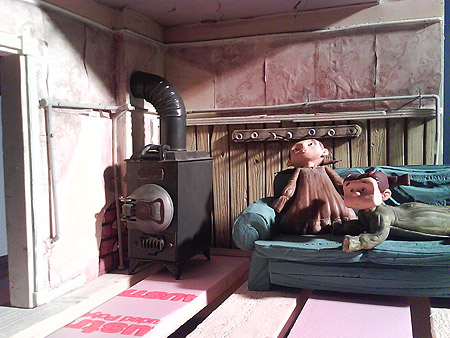
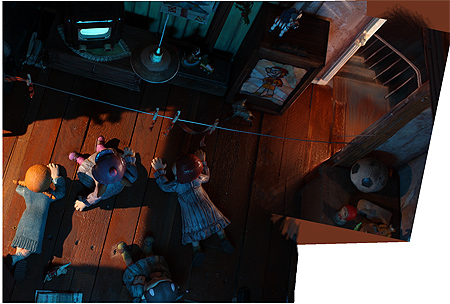
The
final "TV-saloon" perhaps
remained too cosy for it's own good,
despite my efforts to avoid that.
(below)
|
|
|
|
Final
attic layout, as studied on the blueprint
above right. Doodle in the red pen
on the right has nothing to do with
the perspective view where it's superimposed,
but instead relates with top view
on the left and marks the supposed
staircase to the lower floors. The
staircase wall is the lighted part
on the left, behind the TV (image
below left). In earlier, differently
orientated setting, Santa was to enter
the room from that side, but it's
the Agent who climbs the staircase
and enters that door, now.
|
|
|
|
|
|
|
|
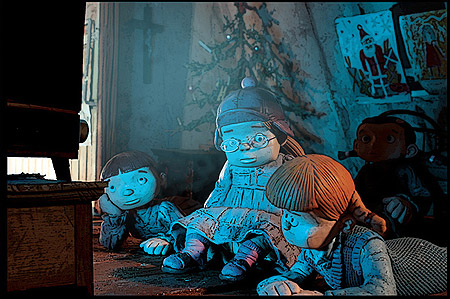
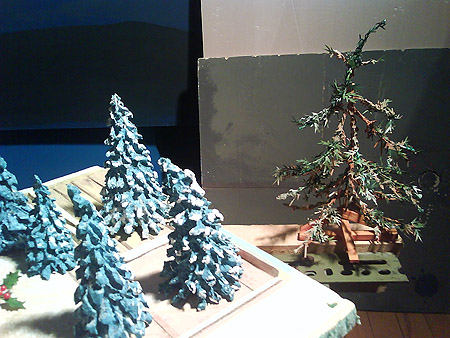
In
spite that the Orphanage was set into
the park surrounded by pine trees,
our girls have the saddest looking
Christmass tree possible. It's also
poorly decorated, only with clothespins...
|
|
|
|
|
|
|
|
|
|
|
|
|
|
|
|
|
|
|
|
|
|
|
|
|
| |
| _1
The ARCTIC PIRATE index |
| _2
Color chart development, coloring and
light tests |
| _3
Storyboards, shooting plans, concept
arts, sketches |
| _4
Puppets, from sketches to animation |
| _5
Vehicles of all sorts |
| _6
Houses and exteriors, from sketches
to final sets |
| _7
Interiors: 7-B
- The Orphanage |
| _8
Small props |
| _9
Graphics and maps for posters, banners,
press, signs etc. |
| 10
Shots against all odds |
| 11
Simple shots, confined spaces |
| 12
Basics: workbenches, tools, logistics,
etc. |
| 13
Miscellaneous |
| |
|